Preparing for next trip...
Updated: Aug 30
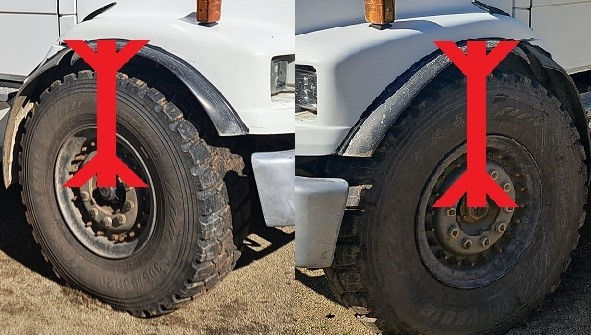
On our trip to Mexico, we find out that one side(passenger side) is 1 inch lower then the driver side. Clearly something is either not aligned or...
In Auburn WA we find a suspension companie(https://gittspring.com/) for trucks where we can make time to investigate. They are telling us we need (both) new front springs as they are worn out, and one leafspring is sagging. However we have to be back in Canada in 5 day's due to the insurance we use. Unfortunately we have to stop the quote they are making as it would be way to much time to find the parts and mount them. But kudo's to Gittspring as they did not charge us for the diagnose!

Back in Canada, we arrange for going to Edmonton where we can combine getting new front springs and a stabilizer bar for the back axle which we find at Red Ram Truck Parts again(https://www.redramtruck.ca/)
More on that on a future blog.
Back home, I start to put a tarp down, as the ground still was frozen and the next day's might rain on me. Then the ground would become a mudpit. With blocks of wood I hoisted up the truck to make it able to change the front leafsprings.
With the Bottle Jack I was able to make small adjustments, to get the leafspring bolts easier in position. Final job for me is torqueing the U-bolts.
The exhaust and the tank had to be removed because one bolt was inaccessible, which turned out to be much more work than expected. Thankfully, we did this, because we discovered a hole halfway up the tank, just above the fuel level. We had to take the tank out and repair it since getting a new or replacement one in time was either impossible or too costly.

Here(>>>) Jolanda is preparing the support for the tank so it won't be bare metal on bare metal again. Which let us to find the rust spot where the hole was. Actually we found 3 more almost holes, and were now able to repair those as well.
On the right rear corner we found in our travels that a weld had broken, so we needed to repair that too. There is foam behind the bar, thus we needed too cool the new weld as fast as we could.
In the mean time we managed to make arrangement to rent out our house, to have a little income extra. It will al be managed by a company in Lethbridge, just so we don't have to watch or take care of it. But, it does mean we have to make the yard and house in tip top condition before we leave for the next adventure. Stuff we stored for the future had to be broken down and measured out, to be able to store it differently and the renter wouldn't have it on there side of the property.
The house had to get emptied out as the Management company was eager to get a renter in beginning next month! That only gave us 25 days! from the beginning of this blog until we would leave again.

Everything which was in the house could be stored in our 26 foot trailer which I used as a workshop.

In the mean time I had found cracks in the rubber of the air suspension balloons at the rear axle. They needed to be replaced. Ordered new ones by amazon. and started to take the old ones out. The drivers side always was a little crooked, but I couldn't find where it came from(Which you'll see later). But, and again here are some of the pictures gone as they were partly with the group of the front springs, I managed to mount the left balloon in it's spot... Until I put air in them. I was checking it out, also using the level device for the rear axle by hand to be able to get the stands out from underneath the bumper.
BOOOM!!! The crooked balloon blew apart right on my left side of my chest. Bruises was all that what happened to me, although I had them for a month! Realizing I couldn't use the (new) bottom part of the airspring any more nor could I get a new one in time, I took the old one apart and mounted the new balloon on the old bottom part.
See you next blog!


Comments